You can test your camera and microphone for a telehealth visit by using the built-in "pre-visit" tool provided in your doctor’s specific portal or by visiting a free, independent testing site like WebcamTest.com or MicTests.com at least 20 minutes before your appointment begins. This ensures that the hardware is physically working and that your internet browser has the correct permissions to share your video and audio with the medical platform.
Making sure your tech works ahead of time prevents you from wasting your limited 15-minute slot with a doctor on technical troubleshooting instead of medical care. We will cover how to grant "permission" to your camera, how to fix a muffled microphone, and the specific steps for the most common apps like Zoom, Doxy.me, and MyChart.
Most apps let you see yourself before the doctor arrives
Almost every major healthcare platform includes a "waiting room" or a "pre-call check" that is designed specifically to catch errors before the doctor clicks "join."
When you click the link sent to your email or text message, do not just sit there waiting for the doctor’s face to appear. Look for a small button or text link that says "Test My Device" or "Check Settings."
In apps like Doxy.me, which is used by thousands of private practices, there is a "Pre-call Test" button on the left side of the screen while you are in the virtual waiting room.
When you click it, the system runs a 10-second check on your microphone, camera, and internet speed. It will show you a "V" or a checkmark if things are working. If you see a red "X," it usually means your browser is blocking the app from seeing your camera.
If your doctor uses Zoom, you can go to Zoom.us/test at any time of the day. This is a private, "fake" meeting room where you are the only participant. It will ask you to speak out loud and then play your voice back to you. If you can hear yourself, your microphone is fine. If you see your own face on the screen, your camera is ready.
According to the Department of Health and Human Services (HHS), these platforms must use specific security measures, but they still rely on your device's local settings to function properly.
Checking your settings in Zoom
When you are in that test meeting, look at the bottom left corner of your screen. You will see an icon of a microphone and an icon of a video camera. If there is a red line through them, they are turned off. Click them to turn them on. If you have more than one camera, for example, a laptop camera and a plug-in webcam, click the tiny arrow next to the camera icon to select the correct one.
The Doxy.me pre-call test
Doxy.me is popular because it doesn’t require you to download an app; it runs right in your browser. However, this means it lives and dies by your browser settings. If you join and the screen is black, look at the very top of your screen in the address bar (where the website name is). You will often see a tiny camera icon with a red "X" on it. Click that icon and select "Always allow this site to access your camera and microphone."
That little pop-up asking for permission is the most important part
The number one reason telehealth calls fail is not that the camera is broken, but because the user clicked "Block" instead of "Allow" when a pop-up appeared. When you first join a medical call, your phone or computer acts like a security guard. It asks, "Do you want to let this website use your camera?"
If you accidentally hit "Block" because you were in a hurry, the website will never be able to see you, no matter how many times you restart the app. To fix this on a computer using Google Chrome, you need to look at the top right corner for three vertical dots.
Go to Settings, then Privacy and Security, then Site Settings. Under "Permissions," you will see "Camera" and "Microphone." Make sure the medical website isn't listed under the "Not allowed" section.
On an iPhone, the process is a bit different. You need to open your main Settings app (the one with the gear icon), scroll all the way down until you find your web browser (usually Safari or Chrome), tap it, and ensure the switches for "Camera" and "Microphone" are turned to the "on" position (green). Medicare.gov notes that while they cover these visits, it is the patient's responsibility to ensure they have a device capable of "two-way, real-time interactive communication."
Why is your phone usually easier than your laptop?
If you are feeling overwhelmed by computer settings, use your smartphone. Modern smartphones are built specifically for video calls. They have better microphones and much clearer cameras than most five-year-old laptops.
When you use a phone, you don't have to worry about whether a "driver" is installed or if a USB plug is loose. You just have to hold the phone at eye level. Most people find that the "Selfie" camera on the front of the phone is more than enough for a doctor to look at a throat or a skin rash.
Take Elena, a 68-year-old grandmother who was trying to show her dermatologist a red mark on her shoulder using her bulky desktop computer. She couldn't pick up the monitor to show the doctor her back, and the image was grainy because her office was dark. She switched to her smartphone, turned on the bathroom light, and used the "back" camera while looking in the mirror.
The doctor could see the texture of the skin immediately. She solved her problem by switching devices in less than 60 seconds.
The difference between looking like a shadow and looking like yourself
Even if your camera is working perfectly, the doctor can’t help you if they can't see your face. This is a common issue with "backlighting." If you sit with a bright window behind you, the camera will focus on the light from the window, and your face will look like a dark, featureless shadow.
- The 45-degree rule: Always have your main light source (a lamp or a window) in front of you, or slightly to the side.
- The "Eye-Level" trick: If you are using a laptop, don't leave it sitting on your lap. The camera will look up your nose, which makes it hard for the doctor to see your eyes or mouth. Prop the laptop up on a stack of three or four thick books so the camera is level with your forehead.
- Avoid "Fluorescent Flicker": Some older office lights can cause a weird strobing effect on video. If you see lines moving across your screen during your test, try turning off the overhead light and using a desk lamp instead.
Where to click when your microphone stays muted?
If the doctor says, "I can see you, but I can't hear you," the problem is almost always your "Input Device" setting. Your computer might be trying to use a microphone that isn't actually there, or it might be trying to use a Bluetooth headset that is still inside its charging case in the other room.
First, check the physical mute button. Many headsets have a small switch on the cord or the earpiece. If that is "off," no software setting in the world will fix it. Second, look at your screen. Most telehealth apps have a microphone icon. If it has a red slash through it, click it once.
If you are using Windows 10 or 11, you can test your mic right now by typing "Sound Settings" into your search bar. Under the "Input" section, you will see a bar that says "Test your microphone." Speak loudly. If the blue bar moves, your computer is "hearing" you. If the doctor still can't hear you, the issue is within the telehealth app itself, not your computer hardware.
Your Wi-Fi might be the real reason your video is freezing
You can have the most expensive camera in the world, but if your internet is slow, your video will look like a blurry mess or a slideshow. Most telehealth platforms require a minimum speed of 1.5 Mbps (megabits per second) for both uploading and downloading.
You can check your speed for free at Speedtest.net. If your "Upload" speed is lower than 1.0 Mbps, your doctor will see you "glitching" or freezing. To fix this:
- Move closer to the router: Walls and doors kill Wi-Fi signals. If you are two rooms away from your internet box, your connection drops by nearly 50%.
- Kick others off the web: If your grandchild is playing video games or your spouse is streaming a movie in the other room, they are "eating" the bandwidth you need for your doctor. Ask them to stay off the internet for the 20 minutes of your appointment.
- Plug in: If you have an Ethernet cable (the one that looks like a wide phone cord), plug your computer directly into the router. This is 100% more stable than Wi-Fi.
| Connection Type | Reliability | Best For |
|---|---|---|
| Ethernet Cable | High | Laptops and Desktops |
| 5G Cellular | Medium-High | Phones (if you have 4+ bars) |
| Home Wi-Fi | Medium | General use, move close to the router |
| Public Wi-Fi | Low | Avoid (Security and Speed issues) |
What to do when you see a "no camera found" error?
If you see a message saying "No camera found" or "Cannot start video," it usually means another app is "stealing" your camera. Computers generally only let one program use the camera at a time. If you had a FaceTime call with your kids or a Skype call for work right before your doctor’s visit, that app might still be holding onto the camera in the background.
Close every single window and app on your device except for the one you are using for the doctor. If it still says "no camera," restart your device. A "cold reboot" clears the memory and forces the camera to reset. In 90% of cases, a simple restart fixes the "no camera found" error.
Also, check for physical covers. Many modern laptops have a tiny sliding plastic door over the lens for privacy. It sounds silly, but patient advocates hear this once a week: a patient thinks their camera is broken, but they simply forgot to slide the privacy shutter open.
Background noise and the "Echo" problem
If you hear a loud, screeching whistle or a repeating echo of your own voice, it is because your speakers are too loud and your microphone is "hearing" the doctor's voice and sending it back to them. This is called a feedback loop.
To stop an echo immediately:
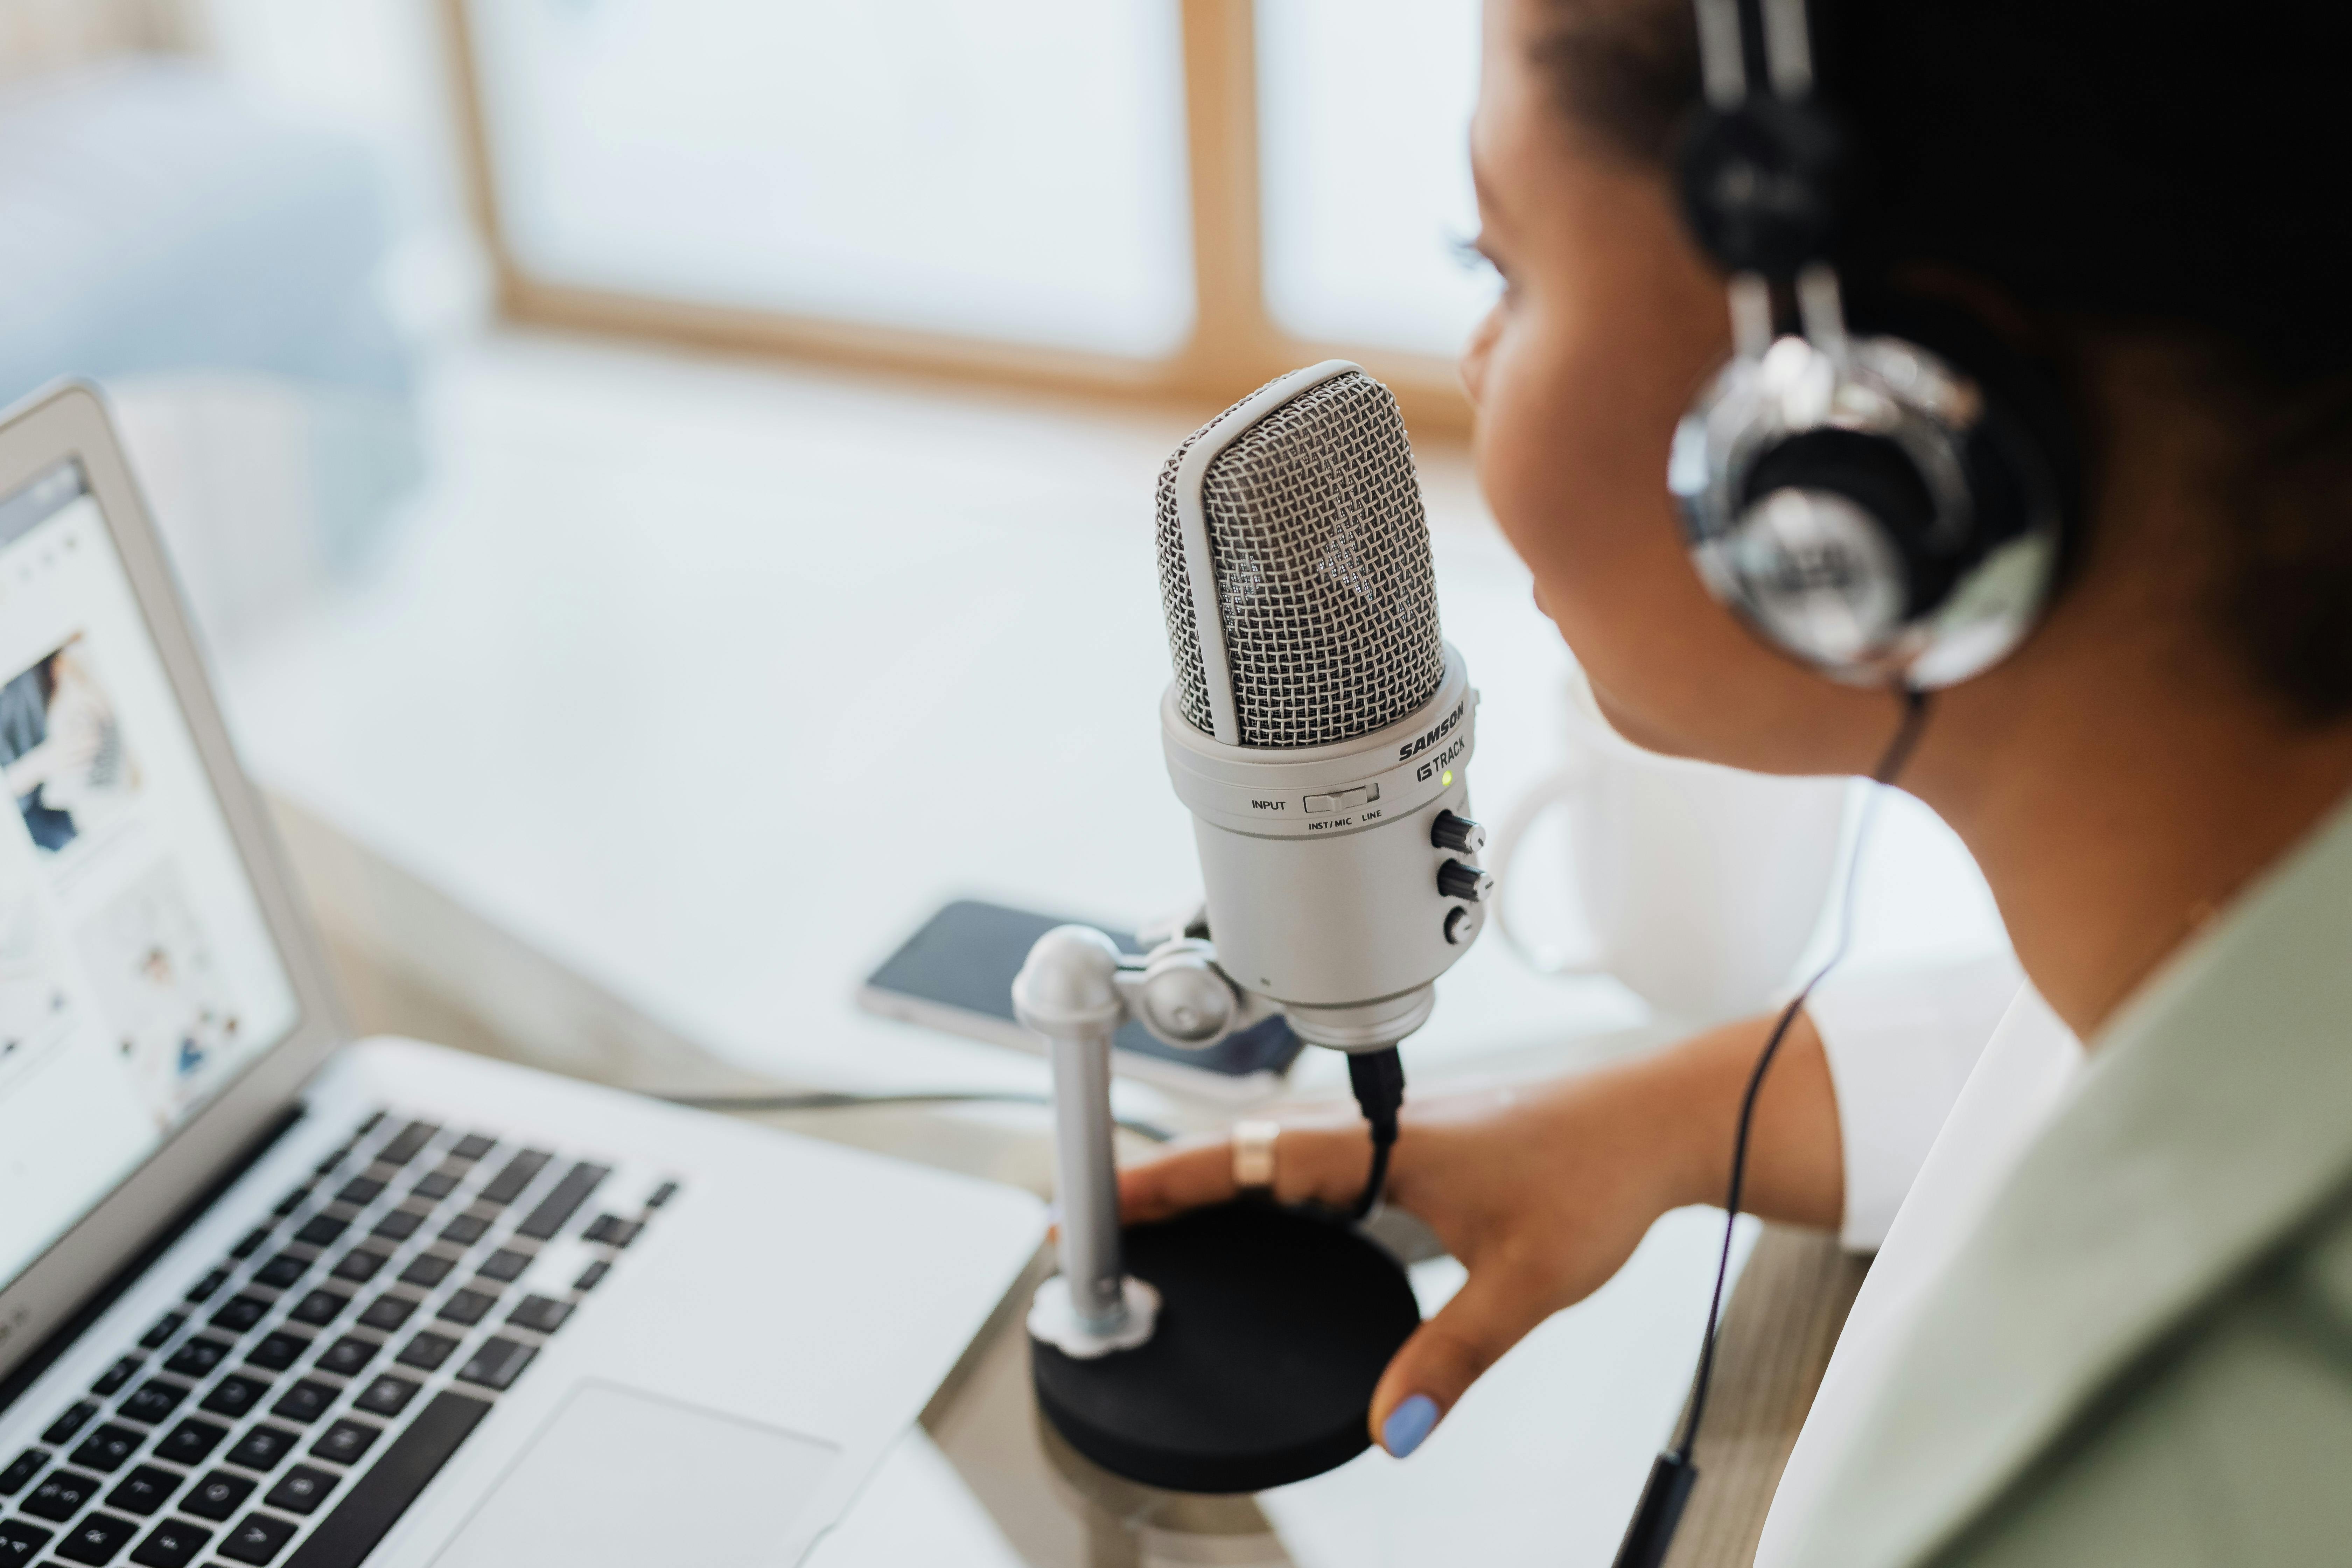
- Wear headphones: This is the best solution. When you wear earbuds, the doctor’s voice goes straight into your ears, and the microphone can’t hear it.
- Turn down your volume: If you don't have headphones, turn your speaker volume down to about 50%.
- Mute when not speaking: If you are in a noisy house, get into the habit of clicking the "Mute" button when you are just listening to the doctor.
Final Thought
Open your calendar or your doctor's appointment confirmation and find the "Test your device" link right now. Do not wait until five minutes before your appointment to see if your camera works. Click that link immediately and run the automated test.
If it fails, you have plenty of time to call the doctor's office or a tech-savvy family member for help. If it passes, you can go into your appointment with the peace of mind that you will actually be able to talk to your doctor without a screen getting in the way.